Free Click & Collect within 30 minutes
 Free delivery on orders over £39.99
 Free Next Day Delivery on orders over £75
 Gift Cards available
How to Create your Very Own Bug Hotel
5 min read
Last Modified 22 May 2025 First Added 7 May 2024
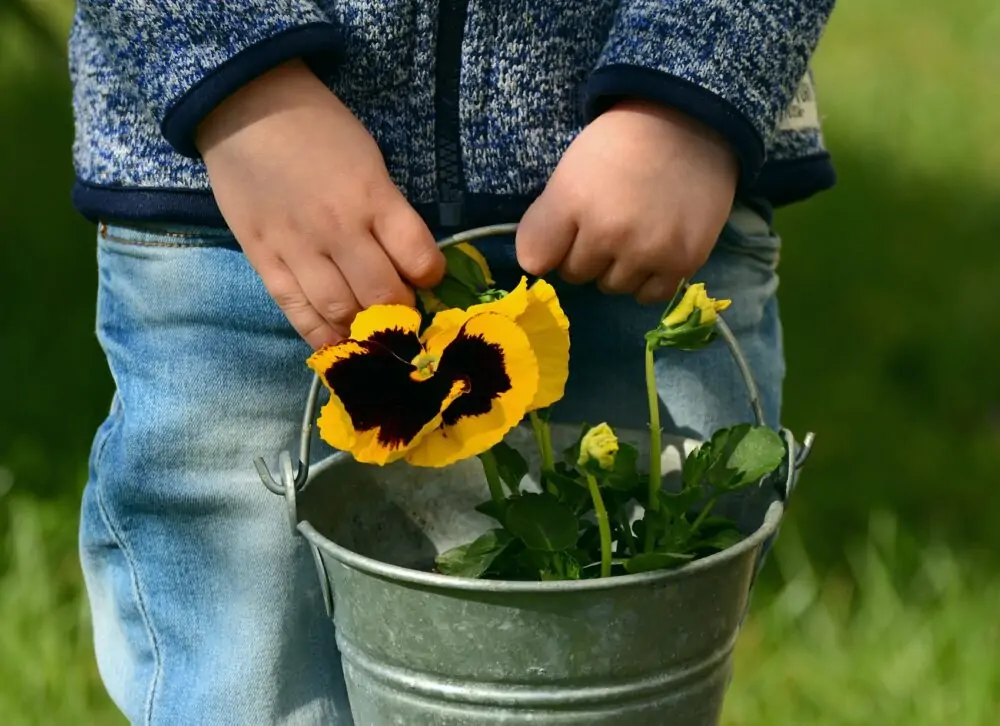
Has your little one found a love for all the mini guests living in your garden? And they aren’t your average guests, these are the kind that flutter, crawl, buzz and hop!
Creating a bug hotel is the perfect way to keep these minibeasts safe and provide them with shelter, a place to hide from predators, and somewhere to raise their little ones.
You can get started with this exciting, meaningful project during any season, however, we recommend autumn as there will be the most material laying around. Autumn is also the season where most animals begin to hibernate and intend on finding perfect cosy places to do so.
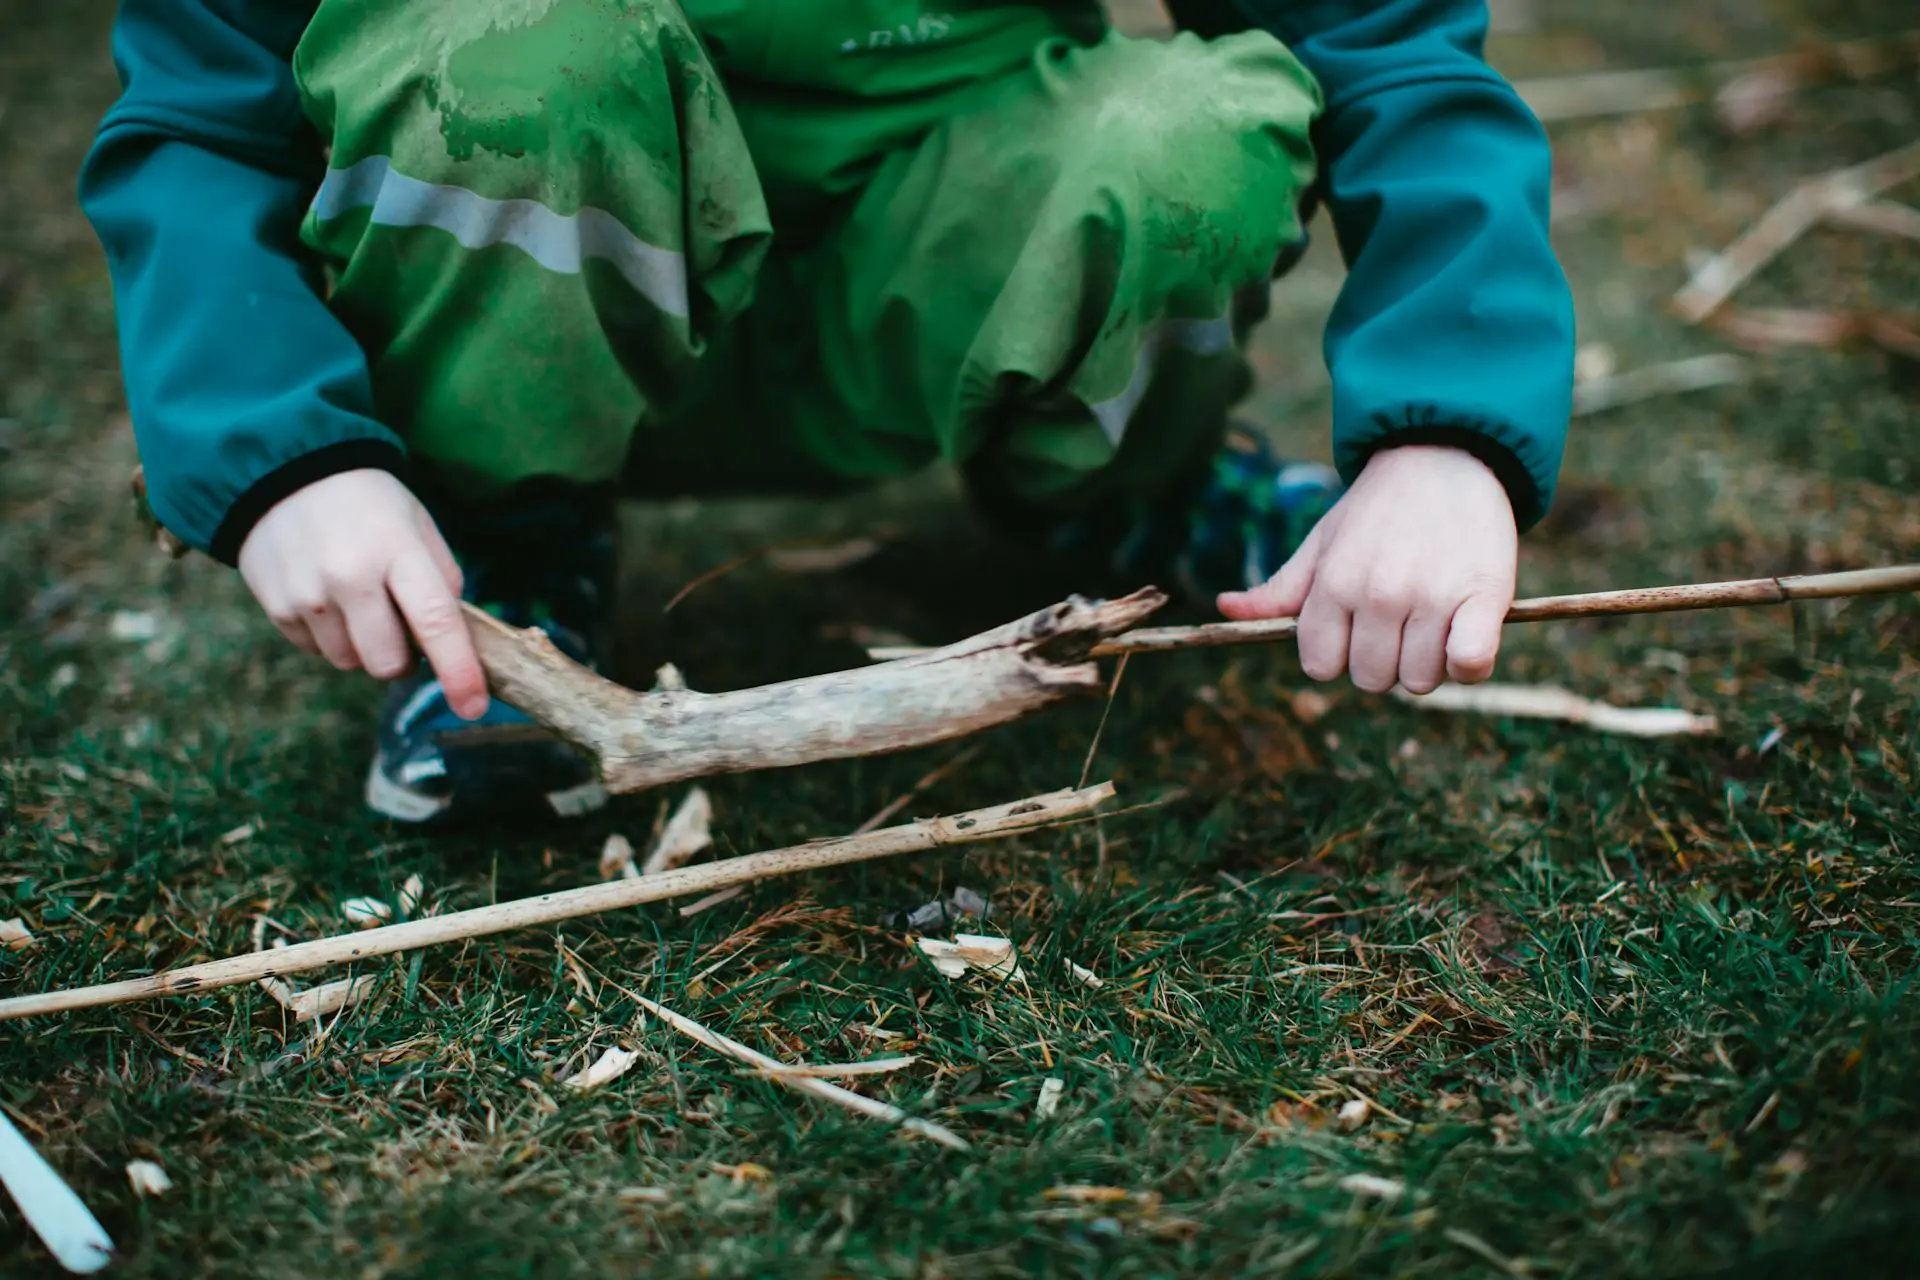
To start your bug hotel adventures with your little ones, first you need to find as much beneficial material as possible. This can be from your garden, or the local park or forest.
Gather materials like:
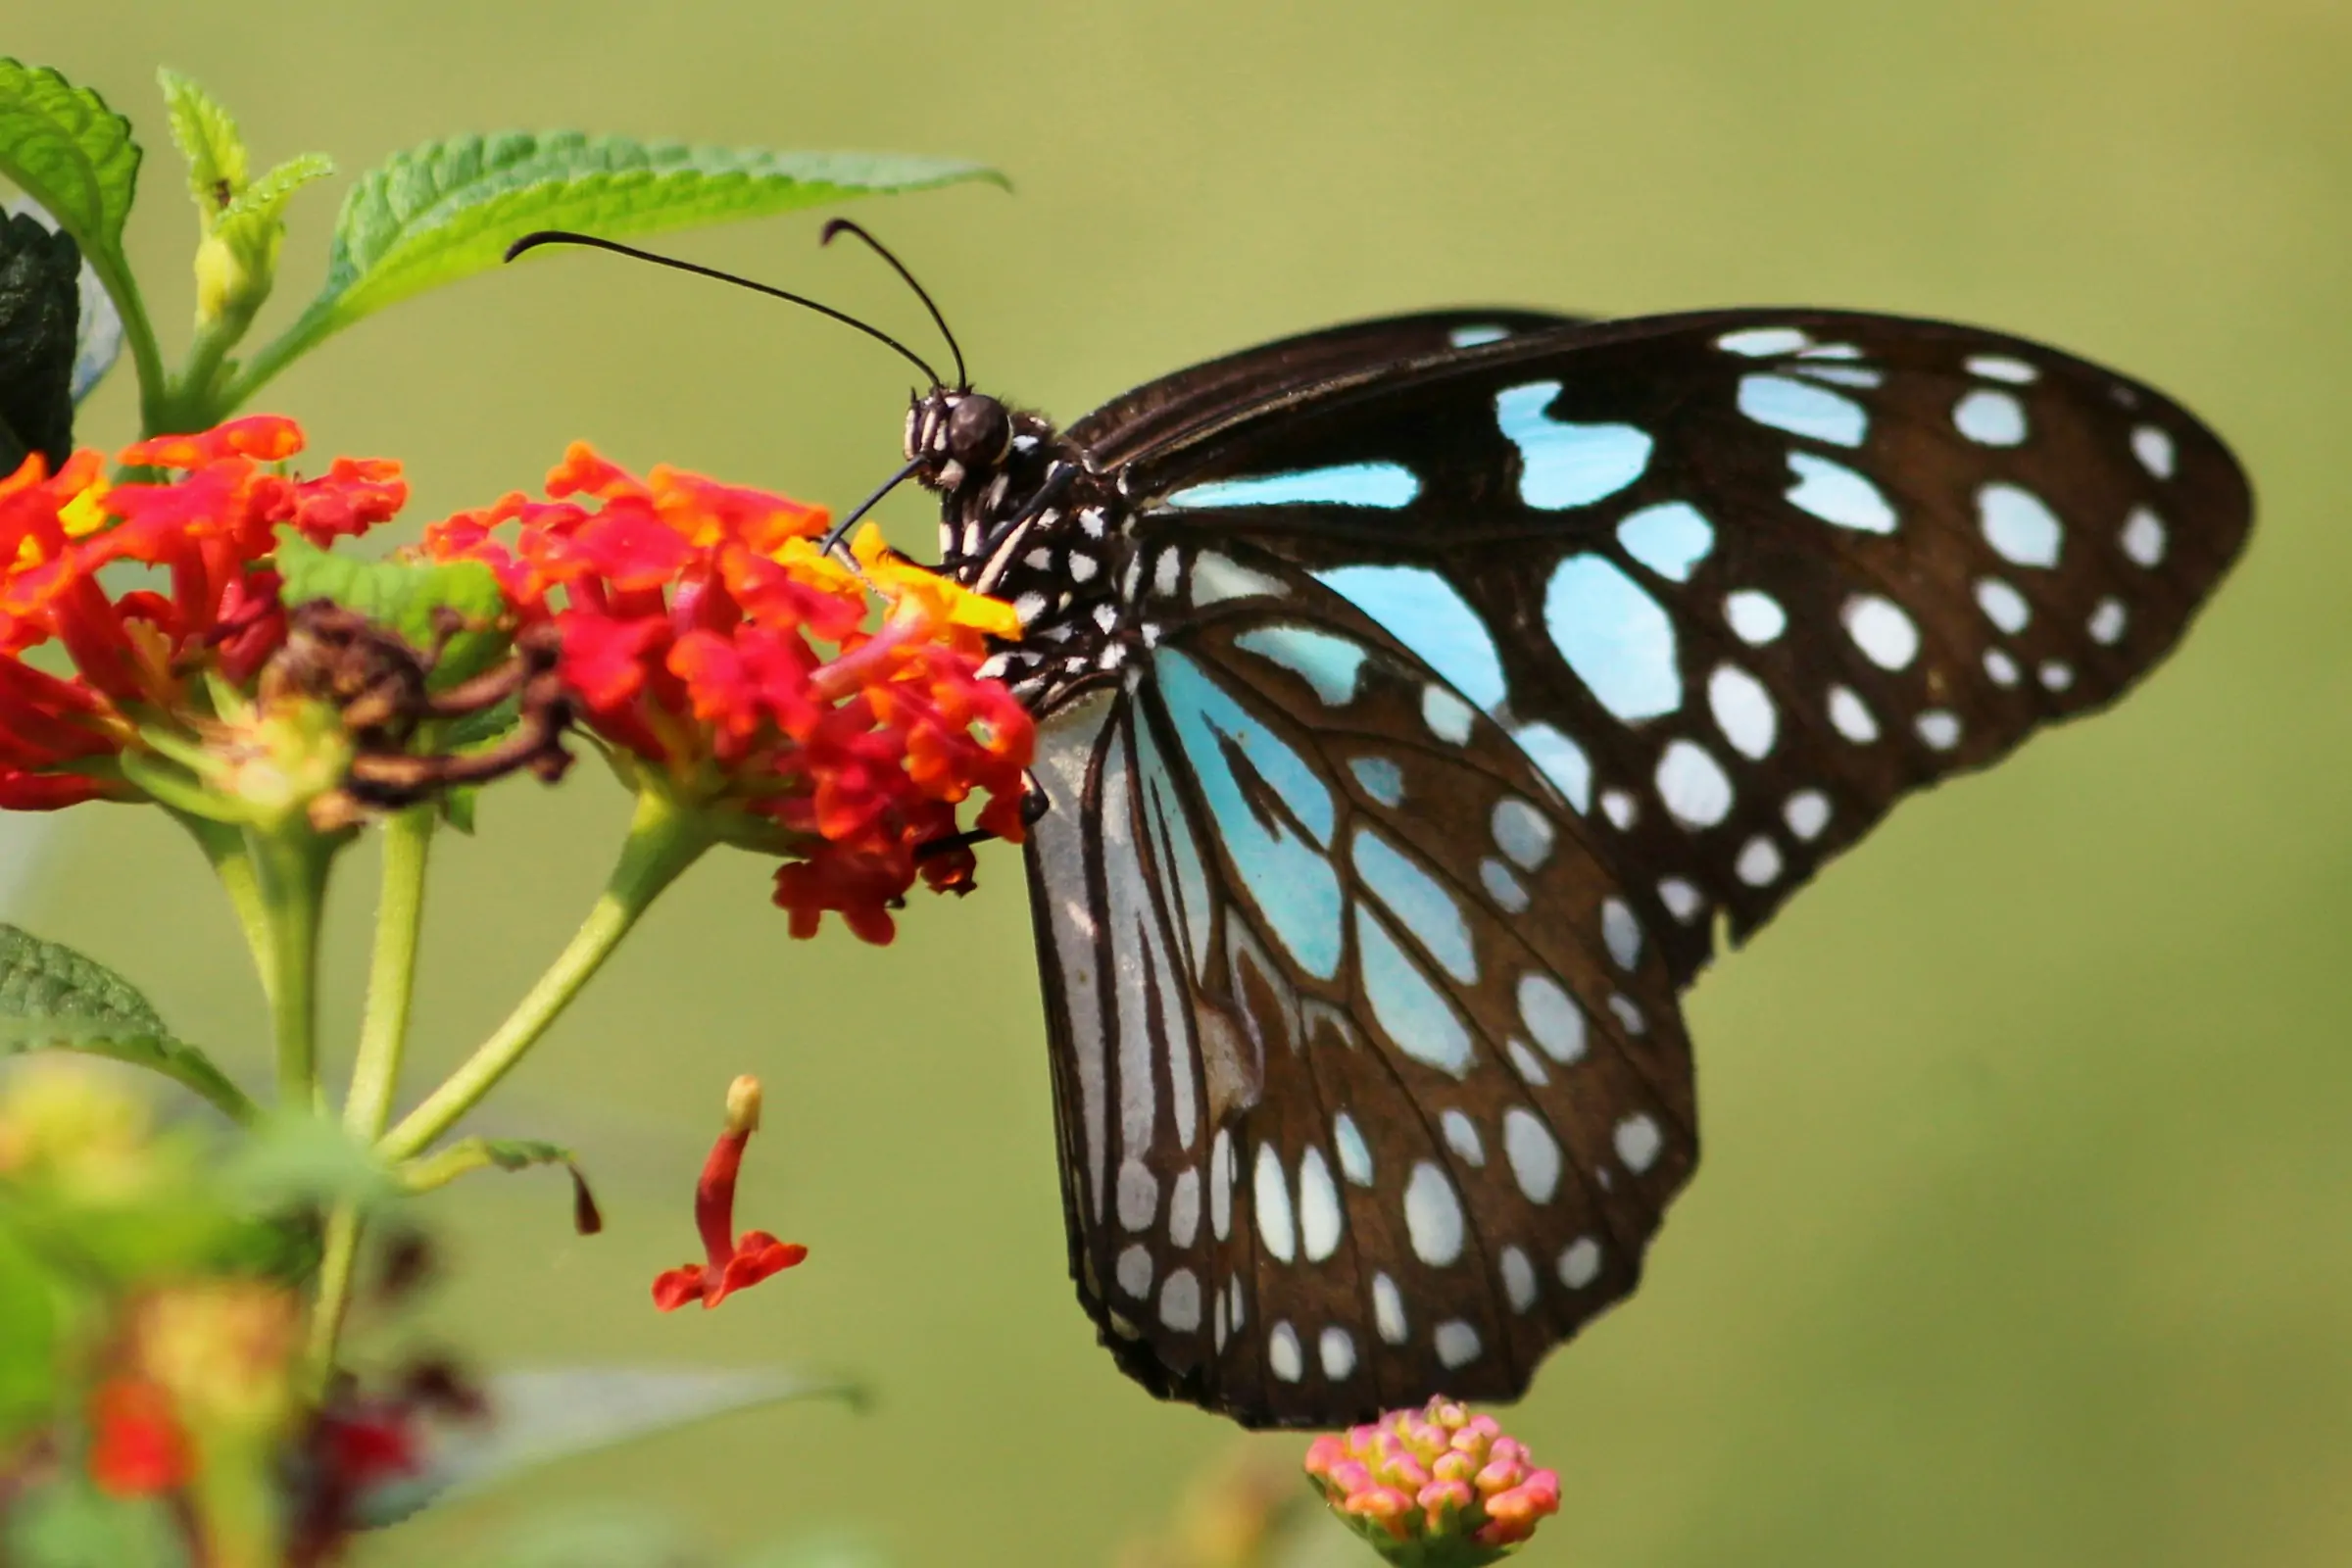
Each of these materials can contribute to building a 5 – star mansion for the minibeasts or several cosy nooks for different insects. These materials attract many animals such as ladybirds, beetles, birds, spiders, bees, woodlice and even frogs – and invite them to stay!
Ensure you find the perfect spot for your new minibeasts build or have an idea of the several mini locations you will have for a variety of different cosy nooks.
Ideally, you’d want their homes to be set up near plants and flowers as these attract insects, but also somewhere sheltered from strong winds and direct sunlight!
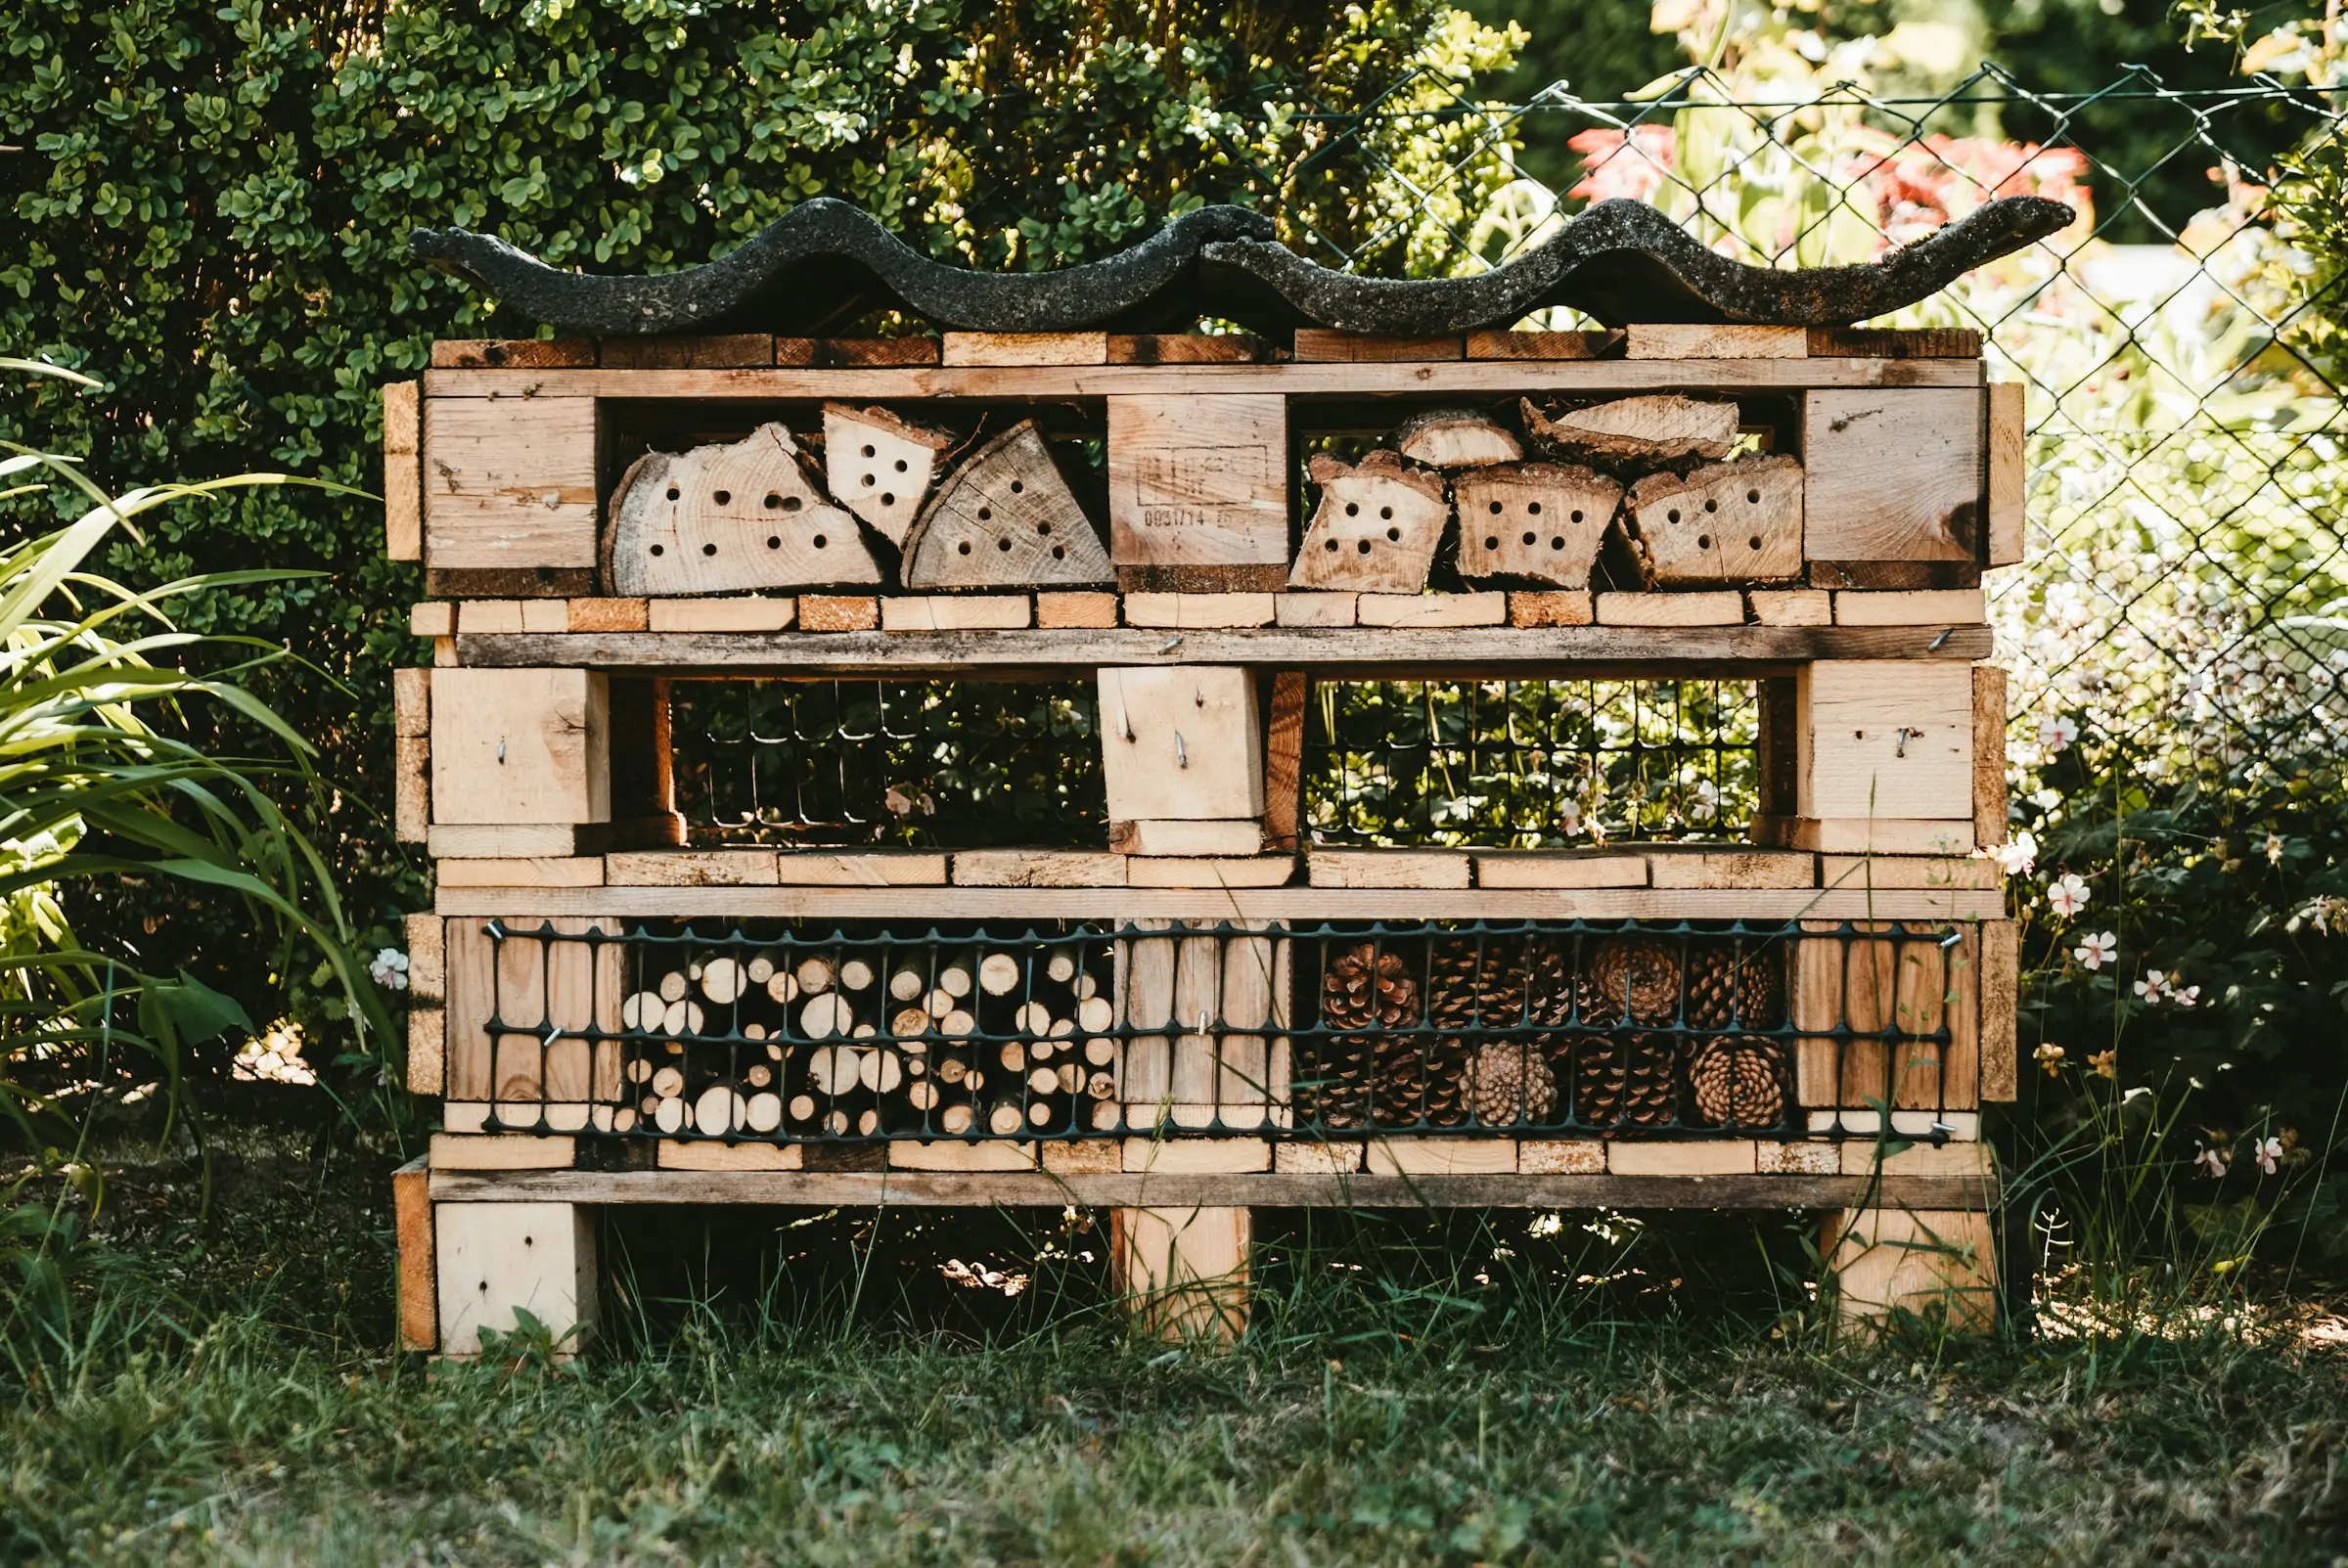
There are several structures you can consider depending on which type of insects you want to attract.
For a multi-storey 5- star mansion you can start with a solid base and begin layering your materials of different shapes and sizes, providing insects with different textures to enjoy their new habitats.
You can separate the layers with wooden pallets and as you build upwards each divided ‘floor’ can be for a different type of insect.
You can add finishing touches such as a roof to protect the duplex from rain, paint colourful designs to increase attractiveness and you can even have your little one make small welcome signs for different bugs and plant it all over their home.
A simple structure where all is needed is a variety of sticks of different sizes and some dry leaves. Find a sheltered spot that is undisturbed in the garden and begin piling up your sticks and filling gaps with smaller sticks and leaves.
Before you know it, you’ll have ants crawling around, ladybirds popping over to visit, and lacewings who loves hiding in cosy spaces.
Several wildlife creatures live off decaying wood, therefore, it is essential for their habitats.
To create a log pile lodge, collect small logs, large sticks and try to find rotting pieces of wood. Pile these materials together, somewhere slightly damp in your garden with loads of shade, and then stuff any gaps or nooks with dead leaves to make it extra cosy!
This structure will attract the likes of woodlice, centipedes, and beetles who love to snack on decaying wood. Logs also attract birds; frogs and you may be lucky to find a hedgehog nosing around!
Ladybirds are lovely, beautiful creatures to have around. To attract them all you need is several pinecones (their favourite!) and a quiet cosy corner, possibly in the garden shed.
Interlock some of the pinecones together to form a tight structure (not too tight) and place some dried leaves in between some of the gaps.
Watch the ladybirds and even lacewings be welcomed into their new home as they love crawling into crevices and hiding between the leaves.
You can also try attracting bees by collecting dry hollow stems and packing an old garden plant pot with them. You may need to cut the stems, so they are the right length and fit perfectly in the pot, you also want to pack them tightly, so they don’t fall out (but not too tight to squash them)!
Locate a dry spot to place your tightly packed pot, somewhere that it can be reached by sunlight. Place the pot with the open side pointing slightly downwards (to ensure rain doesn’t damage the habitat) and decorate the outside with stones to form a little ‘nest’.
After some time, you may find some bees who are ready to lay their eggs invite themselves into the hollow stems and begin to seal the ends with mud!
After getting busy with all this wildlife fun, it’s time to sit back and watch as your labour turns into fruit! Your garden will become a buzzing haven filled with wildlife and activity. For a bunch of decorative garden kits and garden tools for kids, check out gardening craft sets.
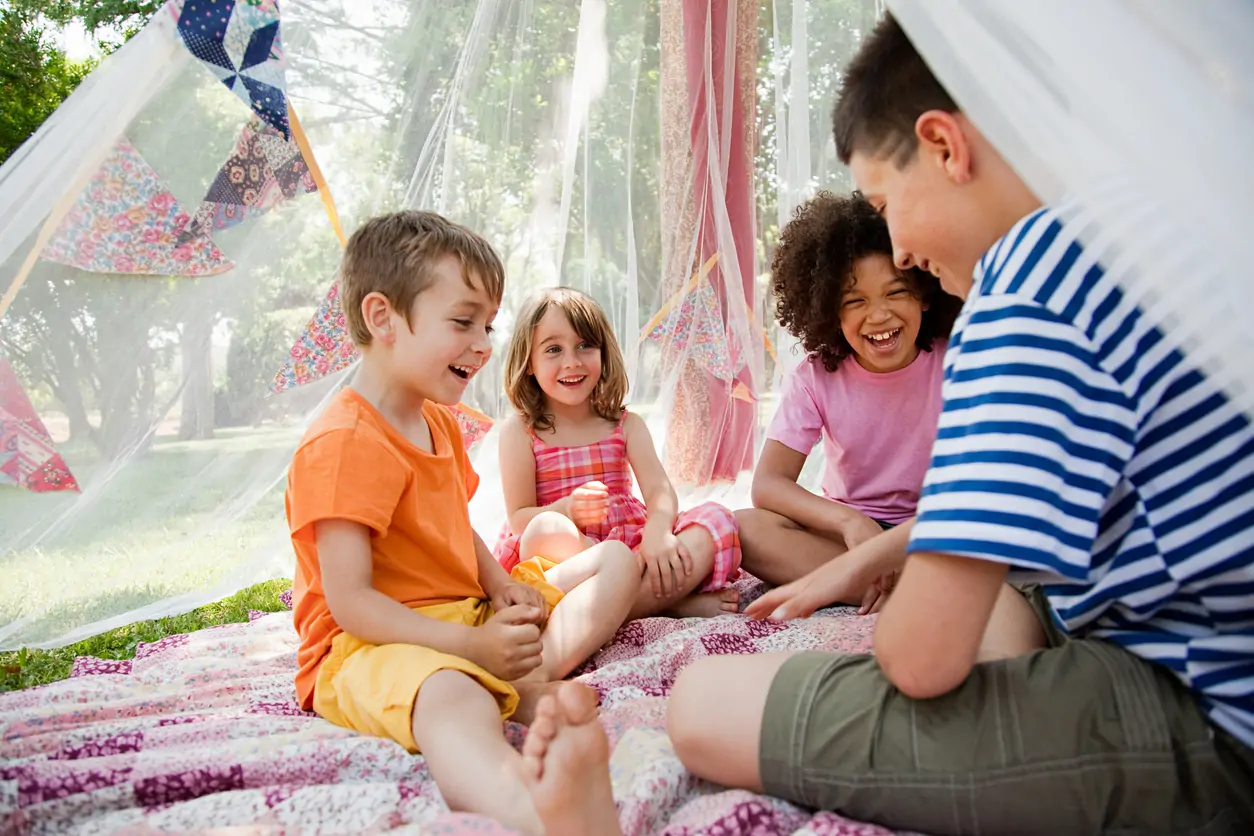
This is the perfect activity to enjoy with the whole family as kids can learn about wildlife whilst also contributing to their habitats!
Enjoy building.
Read our disclaimers.