Keep Your Kids Curious with These Science Activities
11 min read
Last Modified 12 September 2025 First Added 5 September 2024

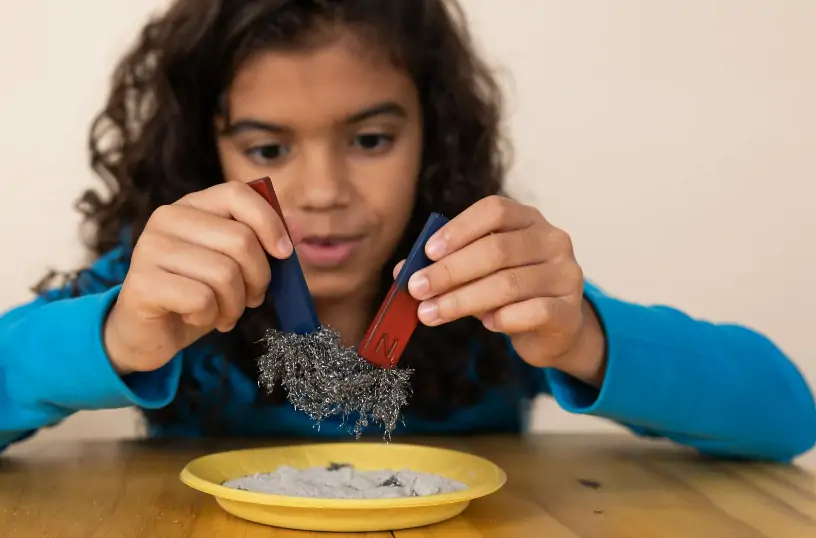
Getting your child interested in science at a young age can help to ignite their curiosity and improve their developmental skills while also being an exciting learning experience. Science is more than just textbooks and tricky equations, it’s about learning to explore the world and everything within it, learning to ask questions, and discovering how things work.
For younger children, engaging in science activities can spark a sense of wonder and lay the foundation for lifelong learning. In this article, we’ll explore the benefits of participating in science-focused games and activities, share some simple and fun experiments you can do at home, and show how science can be a fun part of your child’s everyday adventures.

Children have a natural curiosity within them, and science is the perfect way to harness that curiosity and allow it to flourish. By encouraging your children to explore, experiment, and ask questions, you’ll be helping them develop a love of learning that will stay with them beyond their younger years. Science experiments and activities are a great way to start this journey, and they offer endless opportunities for discovery in the process!
Science-based games and activities help children develop critical thinking skills. They learn to make predictions, observe what happens, and draw conclusions. This process not only boosts their problem-solving abilities but also helps them understand how the world works. Many science experiments involve hands-on activities, such as mixing ingredients or handling objects. These tasks help improve fine motor skills and hand-eye coordination, both of which are important for your child’s physical development.
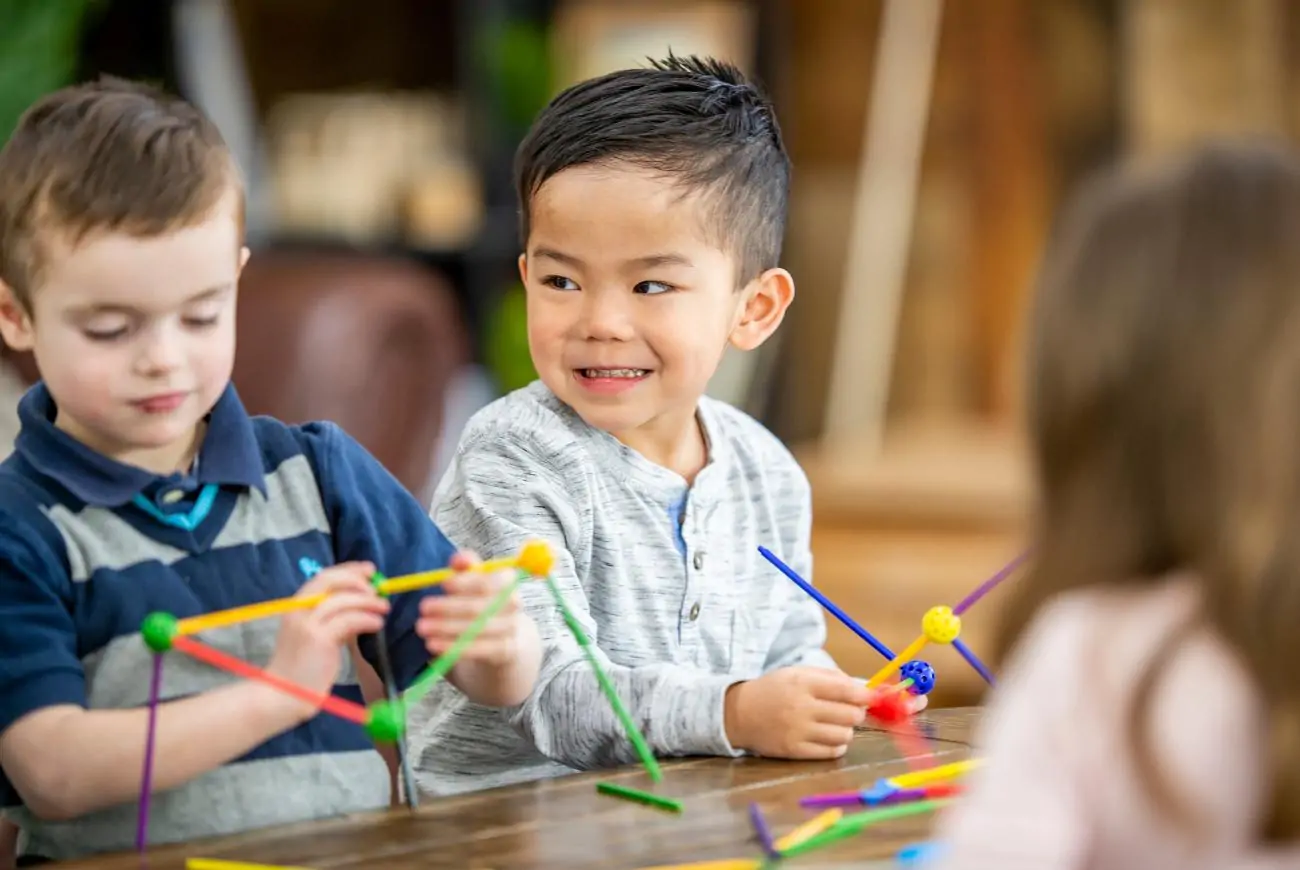
As children engage in science activities, they learn to follow sequences, understand cause and effect, and think logically. Discussing their observations also helps expand their vocabulary and improves their ability to express their thoughts clearly. Many science experiments can also be done in small groups, providing the opportunity to teach children the value of teamwork and collaboration. They’ll learn to share ideas, listen to others, and work together to achieve a common goal—skills that are vital for their social development.
With just a few simple materials or fantastic science kits, like Experimake sets, you can transform your kitchen into a laboratory and dive into hands-on experiments that make science exciting and spend time together too. Create your own or discover a brilliant range toys that provide all you need for exciting experiments you can try at home:
This classic science experiment has been around almost as long as volcanos, and for good reason! This explosive experiment demonstrates a chemical reaction between baking soda (a base) and vinegar (an acid), producing carbon dioxide gas, which causes the ‘eruption’. It’s a fun way for children to learn about chemical reactions and observe cause and effect in action. Plus, it’s a chance for your little ones to get involved in the process and see the results of their experiments in a fun and exciting way.
For this experiment, you will need:
Instructions:
Step 1: Create the volcano structure – To begin, place the plastic bottle in the centre of the tray or dish, then using the modelling clay, playdough or paper mache, build a volcano shape around the bottle, leaving the top of the bottle open and uncovered. This will be where the “lava” erupts from.
Step 2: Prepare the Lava Mix – To do this part, you will need to add 2-3 tablespoons of baking soda/bicarbonate of soda into the plastic bottle. If you want colourful lava, you can add in a few drops of red food colouring, but this step is optional. You can also add a squirt of dish soap during this step if you want your lava to be extra foamy, but this is also an optional addition.
Step 3: Erupt the Volcano! – Pour the vinegar into the bottle carefully (preferably using a funnel if you have one, but this can work without one). Once the vinegar and bicarbonate of soda or baking soda mix together, the reaction between the two will cause the “lava” to erupt from the volcano!
Each liquid you will use for this experiment has a different density, which is why they don’t mix together and start to form visible layers. It’s a visually engaging way for children to learn about the properties of liquids and the concept of density.
For this experiment, you will need:
Instructions:
Step 1: Layer the Liquids – Start off by pouring honey or syrup into the bottom of the jar. Next, slowly add a layer of dish soap on top of the honey, pouring it gently down the side of the jar. Then, add water (colour it with food colouring if you’d like) as the next layer, followed by vegetable oil. Finally, pour in rubbing alcohol (you can add food colouring here too, to achieve the ‘rainbow’ effect, but this is optional).
Step 2: Observe the Layers – Encourage your child to watch as the different liquids settle into distinct layers, creating a rainbow effect in the jar. Each liquid stays separate due to its own unique density.
This exciting experiment will spark the interest of any child by introducing them to the concept of crystallisation and how solids can form from a solution as it cools or evaporates. This is a great, hands-on way to explore chemistry and the natural process of crystal formation, sparking curiosity about the world of minerals and geology.
For this experiment, you will need:
Instructions:
Step 1: Prepare the Solution – Start by dissolving salt in warm water. Add the salt gradually, stirring continuously, until no more salt will dissolve, and it starts to settle at the bottom. This indicates that the solution is saturated.
Step 2: Set Up the String – Cut a piece of string long enough to dangle into the jar without touching the bottom. Tie one end of the string to the pencil or stick, and attach the small weight (such as a paperclip or bead) to the other end. The weight will help keep the string straight as the crystals form.
Step 3: Grow the Crystals – Place the pencil or stick across the top of the jar so that the string hangs down into the solution without touching the sides or bottom. Set the jar in a quiet, undisturbed place where it won’t be moved or shaken.
Step 4: Wait and Watch – Over the next few days, crystals will begin to form on the string as the water evaporates. You can observe the changes daily and watch the crystals grow larger over time.
Step 5: Remove and Examine – Once your crystals have grown to a size you like, carefully remove the string from the jar and let the crystals dry. You can then examine them up close to see the crystal shapes and structures.
This self-explanatory experiment is a very simple one but will be sure to engage your little one’s brains and teach them a vital understanding of different objects with different densities and structures. This experiment helps children understand the concept of buoyancy and density by introducing the idea that whether an object floats or sinks depends on its material and how much water it displaces. Through hands-on exploration, children learn basic principles of physics in a fun and interactive way.
For this experiment, you will need:
Instructions:
Step 1: Fill the Container – Fill the large container or bowl with water. Ensure there is enough water for the objects to float freely.
Step 2: Gather Objects – Collect a variety of small objects made from different materials. Choose objects you suspect might float and others that might sink.
Step 3: Make Predictions – Before placing each object in the water, ask your child to predict whether the object will float or sink. This encourages critical thinking and hypothesis formation.
Step 4: Test the Objects – One by one, gently place each object into the water. Observe what happens—does it float on the surface, or does it sink to the bottom? Discuss why certain objects float while others sink.
Step 5: Dry and Compare – After testing all the objects, dry them off with a towel. Compare the results with the initial predictions and discuss any surprises or patterns noticed.
This is a great experiment you can do with your kids, where you’ll likely already have most of the things you need at home already. The magic milk experiment demonstrates the concept of surface tension and how dish soap interacts with the fat molecules in milk. It’s a simple yet fascinating way for children to observe how liquids can interact and create beautiful, colourful patterns.
For this experiment, you will need:
Instructions:
Step 1: Prepare the Milk – Pour enough whole milk into the shallow dish or plate to cover the bottom. The milk should form a thin layer across the entire surface.
Step 2: Add the Colours – Add several drops of different food colouring in various spots across the surface of the milk. You can use as many colours as you like, placing them close together for a more vibrant effect.
Step 3: Create the Magic! – Dip a cotton bud into the dish soap, then gently touch the surface of the milk with the soapy end of the cotton bud. Watch as the colours explode and swirl around, creating a “magic” effect as the soap breaks the surface tension of the milk.
Step 4: Experiment Further – You can repeat the process with different colours or try using different amounts of dish soap to see how it changes the patterns in the milk.
For more ideas and resources on how to make learning fun and educational, browse our selection of STEM toys and find a wide variety of science, technology, engineering and mathematics-inspired toys that have been designed to spark curiosity and support your child’s development through play.

Integrating science into your child’s daily routine doesn’t have to be complicated. Simple activities using household items can turn everyday moments into learning opportunities. For instance, you can use a magnifying glass to examine different textures around the house or mix water with different substances to see how they dissolve. Creating a mini science lab at home, stocked with basic supplies like magnifying glasses, measuring cups, and safe household chemicals, can also make science a regular part of playtime. This blog also identifies the many benefits of STEM toys for children.
Introducing your child to science through fun, hands-on activities is a wonderful way to ignite their curiosity and encourage a love of learning. Whether it’s watching a volcano erupt or growing crystals in a jar, each experiment offers valuable lessons in critical thinking, problem-solving, and creativity. By making science a part of your child’s early years, you’re not only supporting their cognitive and physical development but also nurturing a possible future scientist—or at the very least, a curious and thoughtful person.
Read our disclaimers.